
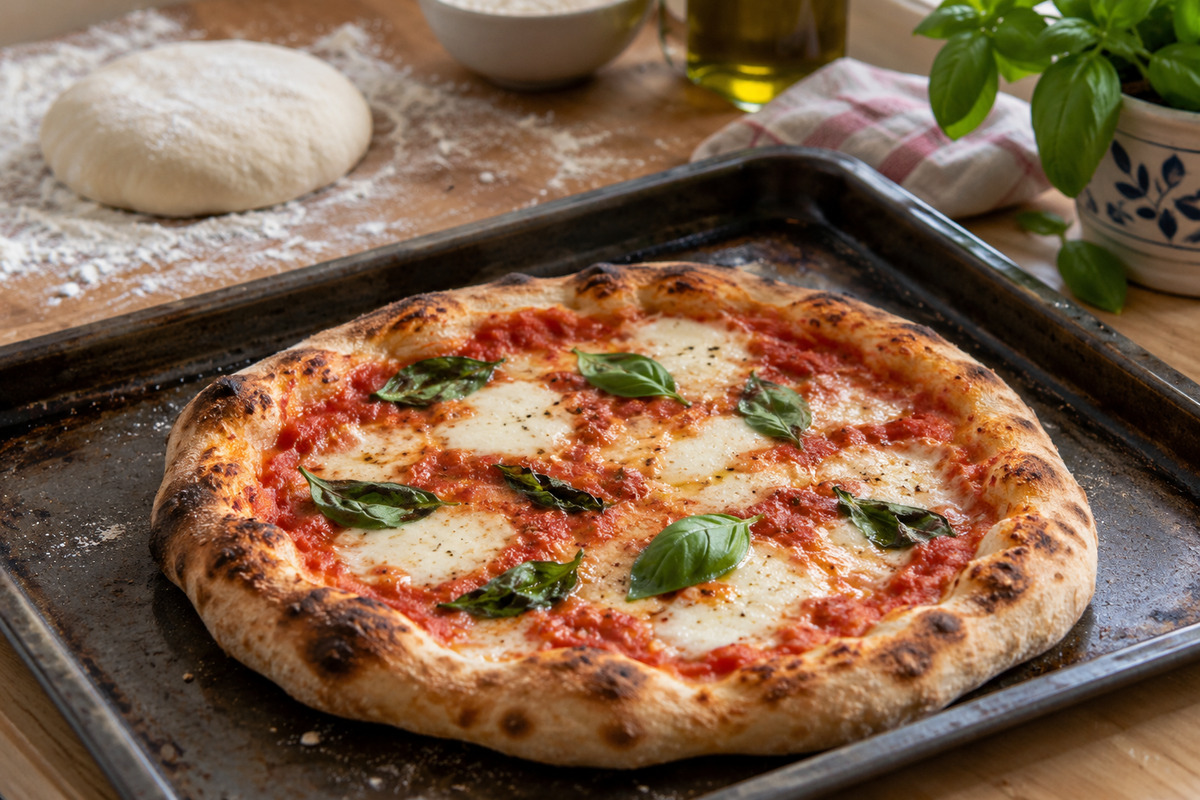
Homemade pizza: a complete guide to dough, rising and baking
Good homemade pizza comes from a repeatable method. Choose your baking style first, then match dough, timing and tools to it.
Start with the oven and pizza style you have, not the most complicated dough. A home oven, a deep skillet and a dedicated pizza oven behave differently. Choose a method, record the quantities and improve one variable at a time.
Choose your first pizza style
| Method | Good starting point | Main skill |
|---|---|---|
| Round pizza in a home oven | Moderate-hydration dough | Stretching and transfer |
| Pizza in a skillet | Oiled pan and final proof | Baking the base through |
| Tray pizza | Soft dough spread in a tray | Proofing and topping timing |
| Dedicated pizza oven | Dough suited to short, hot baking | Surface temperature and turning |
Try the basic dough, skillet pizza or tray pizza. These routes can all produce a good meal; they need different expectations.
Understand the dough numbers
Hydration is water weight divided by flour weight. With 500 g flour and 325 g water, it is 65%. More water can produce a softer dough, but it also makes handling harder and demands enough strength and baking time.
Salt, yeast and temperature work together. A short same-day rise needs a different yeast quantity from an overnight refrigerator schedule. Do not change only the time while keeping every other variable fixed.
Choose flour you can actually buy
For English-speaking cooks in Hungary, finomliszt, kenyérliszt and 00 can be confusing labels. They do not all describe the same property. Read the Hungary flour guide and consider protein, intended use and fermentation duration.
For your first batch, use an accessible flour and moderate water. It is easier to learn from a dough you can handle than from a very wet one copied from a video.
Build a schedule around your day
A same-day dough is convenient for dinner; cold fermentation lets you spread the work across two days. A fridge slows activity but does not stop it, and dough needs time to relax after removal.
Once the basic method is consistent, explore biga and poolish. Preferments are optional techniques, not proof that a pizza is automatically better.
Stretch and top with restraint
Let dough relax before stretching. Press from the centre and preserve some gas at the edge if you want a raised rim. If it springs back, rest it covered instead of pulling harder. Avoid a rolling pin for a puffy round pizza; use the method appropriate to your chosen style.
Keep sauce thick and drain wet mozzarella. Prepare toppings before stretching so the pizza spends less time sitting on the peel. Our sauce and mozzarella guide explains why moisture matters.
Match the baking surface to the oven
Steel, stone and cast iron transfer heat differently. Check temperature limits, clearance and preheating instructions. The surface comparison explains the trade-offs and identifies the material of actual products.
A surface thermometer can help monitor a suitable baking surface, but readings depend on emissivity and shiny surfaces can mislead. It does not measure food's internal temperature.
Improve the next batch
Record flour, water, yeast, room temperature, rise, dough-ball weight, shelf and bake time. Use pizza troubleshooting to connect a pale base or tough crust to a useful adjustment. For a related forgiving dough project, try focaccia.
Browse pizza tools after choosing the method. Read how to use a peel before buying one, and the Hungary equipment guide for local ordering questions. Good tools support a good process; they do not replace it.

